Photography is one of my favorite things in the world. Hands down. It makes me soo happy and over the 10 years I’ve been taking pictures (for fun and for real), I’ve learned a lot! Much of it comes from just shooting like crazy, but also from following photographers that inspire me and learning from them. So, today I’m sharing the top things I’ve learned and swear by when it comes to my photography!
1. Look For The Light
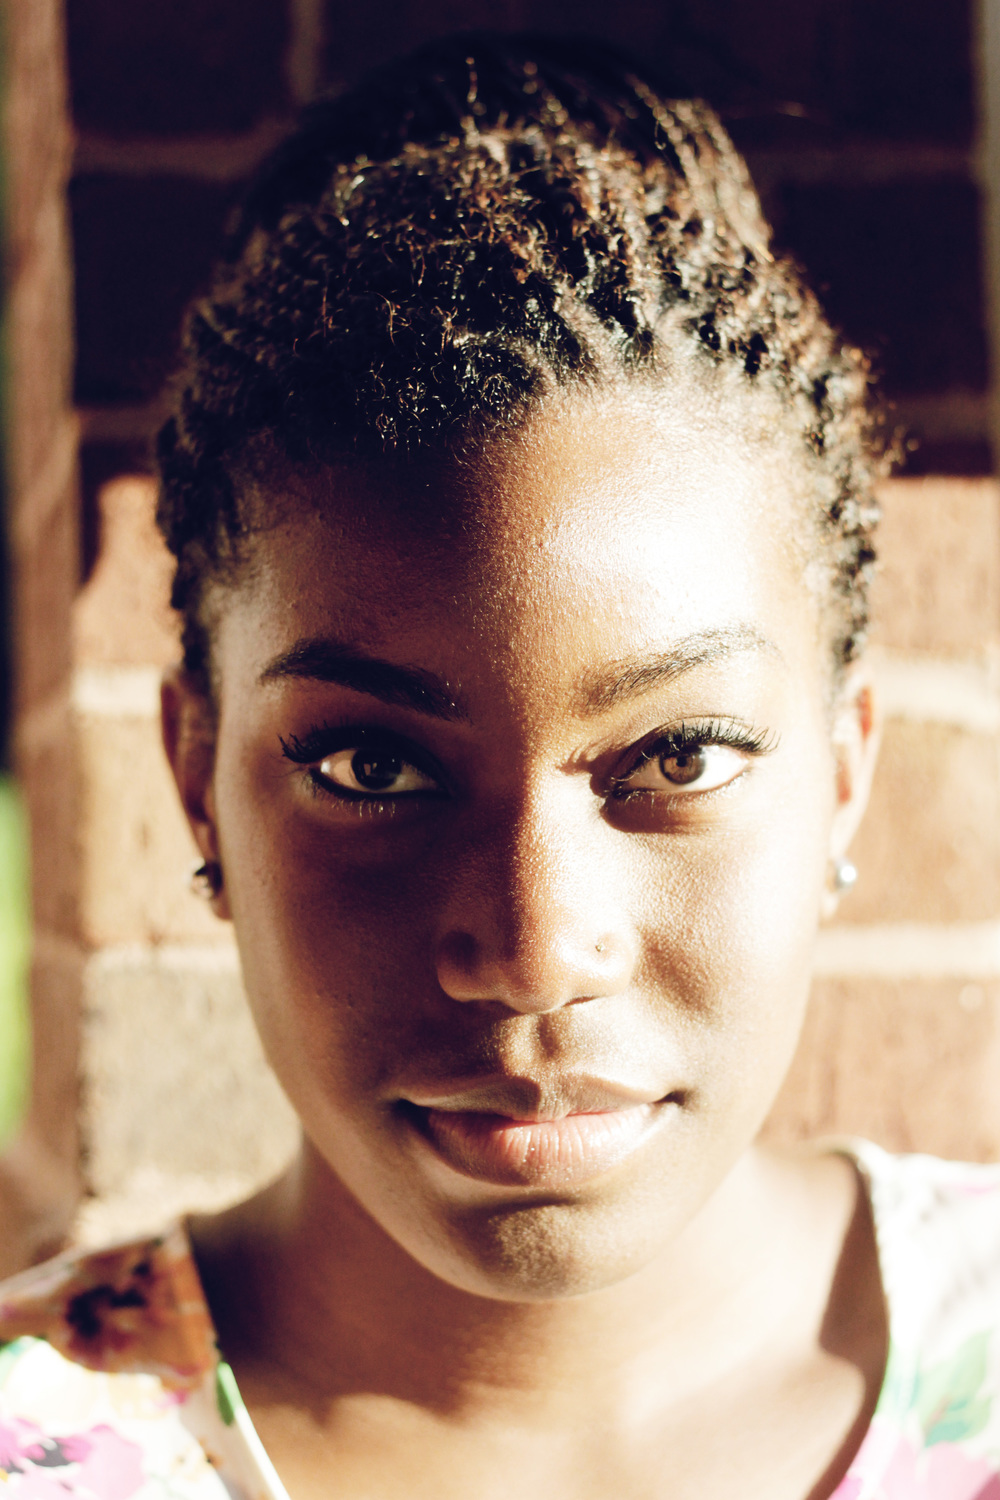
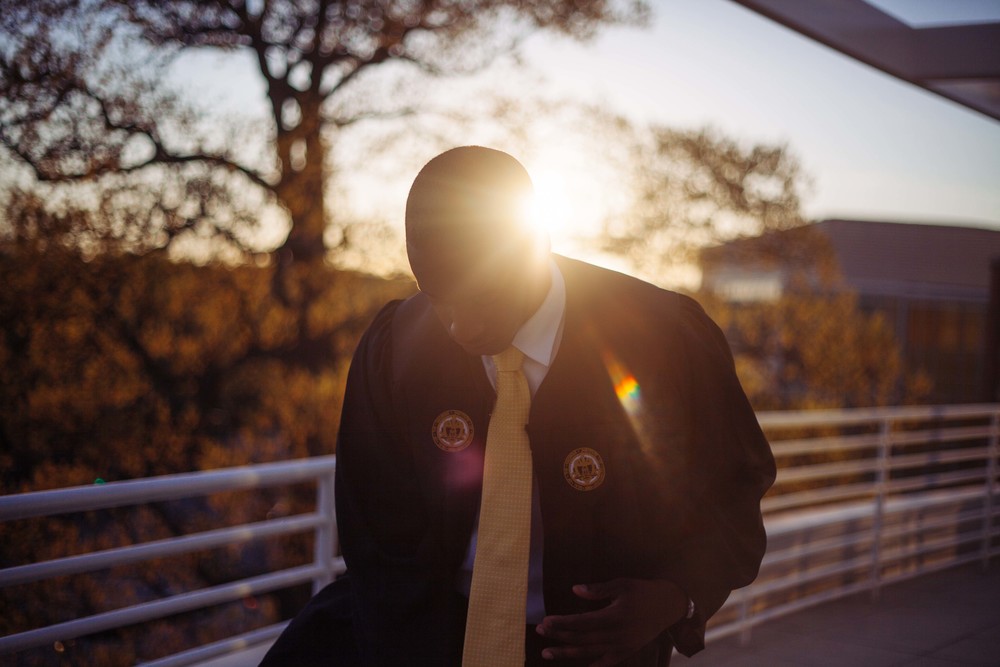
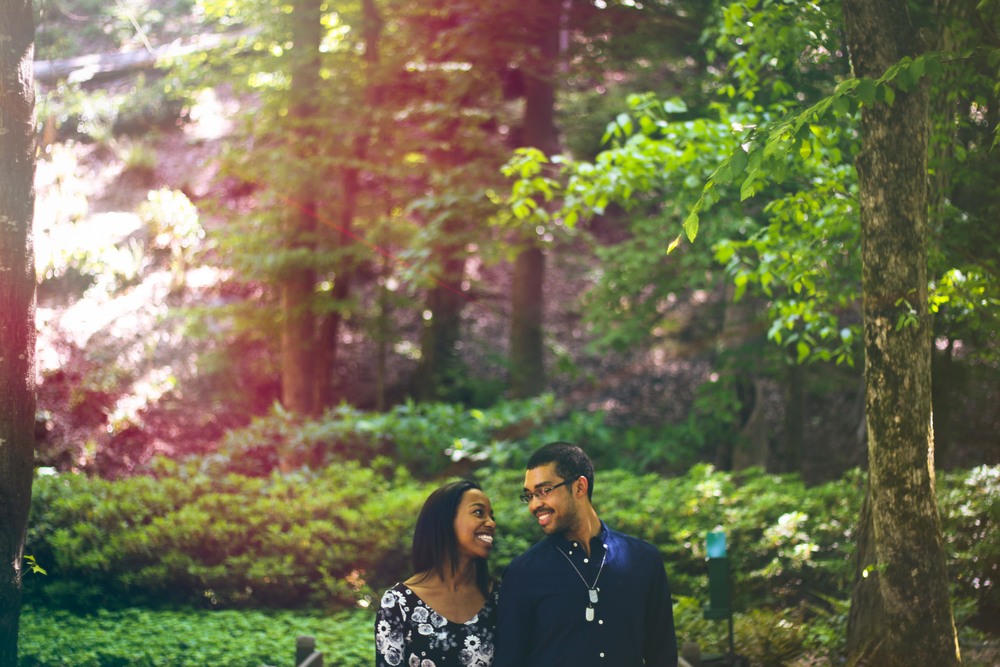
Photography quite literally means “drawing (-graphy) with light (photo-), so the lighting used in the process of creating a picture is honestly the most important aspect! Before I even put my camera to my face, I look at my surroundings and ask myself, “Where is the light?” If I want to create a traditional portrait, I want the light coming at my subject’s face. If I want to create a silhouette, the light should be directly behind the subject. I’m always, always looking for the light to determine my manual settings (of course), but also to gauge what is actually going to be illuminated or darkened in the picture. One of my favorite things to play with when shooting outside in natural light is sunflares! Getting nice rainbow streaks or colored hazy lines in a picture makes me sooo happy.
2. Frame Your Subject
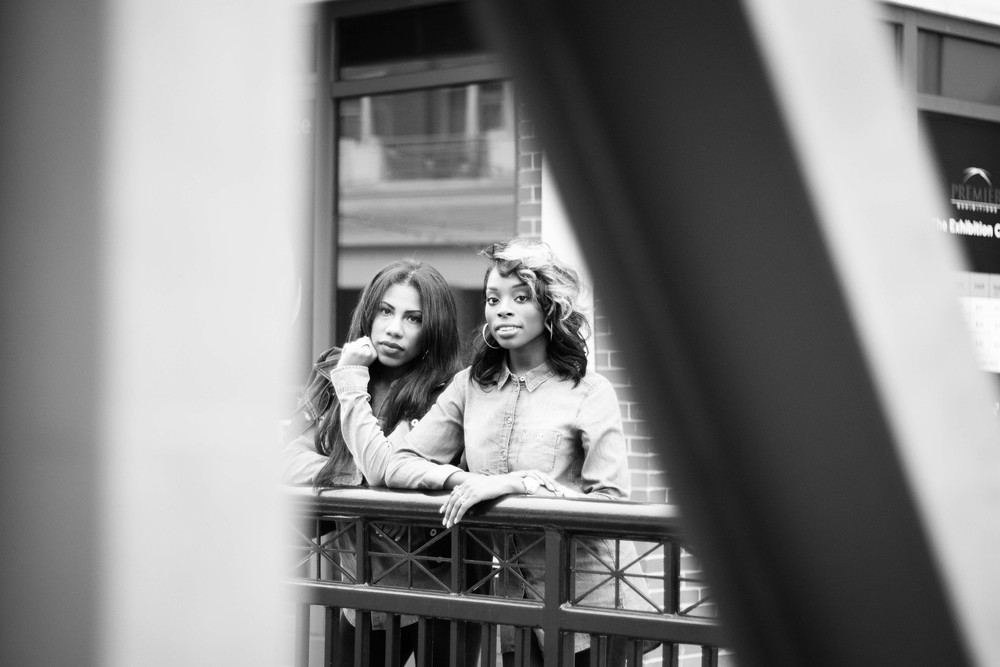
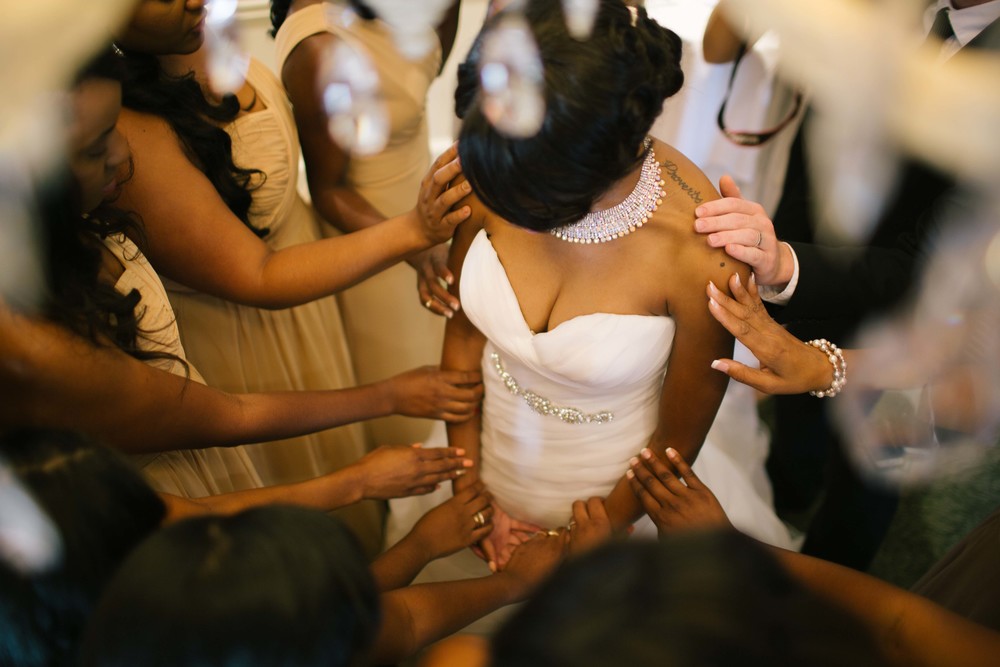
This is one of my favorite things to do in pictures to make them look a little unconventional! I definitely learned the art of this from one of my fav photogs, Nate Kaiser. I like to use trees, branches, foreign objects, other people, and even backgrounds to create a frame around the subject and draw the viewer’s eye to what I want to be the most important part of the photo. It’s also a great idea to use leading lines as another frame for the subject.
3. Get On A Different Level
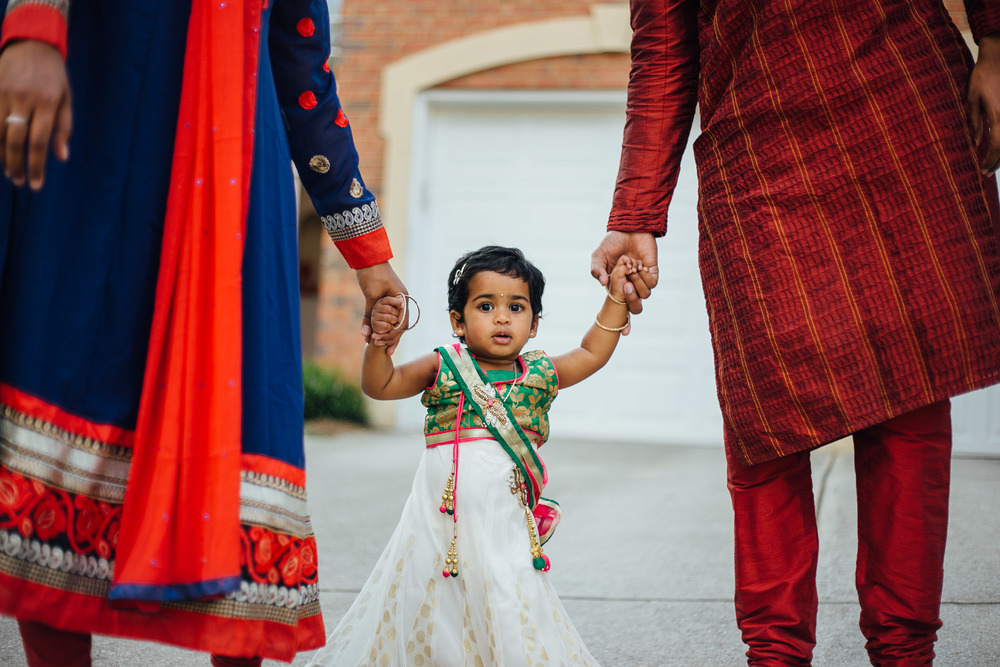
I always want to tell a story with my photography, and in order to do that, I have to remember the point of view that best highlights the narrative I’m hoping to create. It’s very easy to take pictures at your eye level, but it paints a whole new picture when you bend down a little, climb on top of something, or even get all the way on the floor to get on the level that puts you where you’ll best encompass the whole story. Bonus tip: if you’re photographing small animals or children, get down on the floor to be face to face with what they’re seeing!
4. Play With The Rule Of Thirds
If you take a formal photography class, you will probably learn about the “rule of thirds,” which is a technique that helps you imagine your frame being divided into a grid with 9 even rectangles and your subject or focal usually being placed in a section that isn’t the dead center. I love playing with this rule! I like to put my subject down in the bottom row and have an interesting background take up the top half or push my subject to the far left or right.
5. Blur Out Your Background
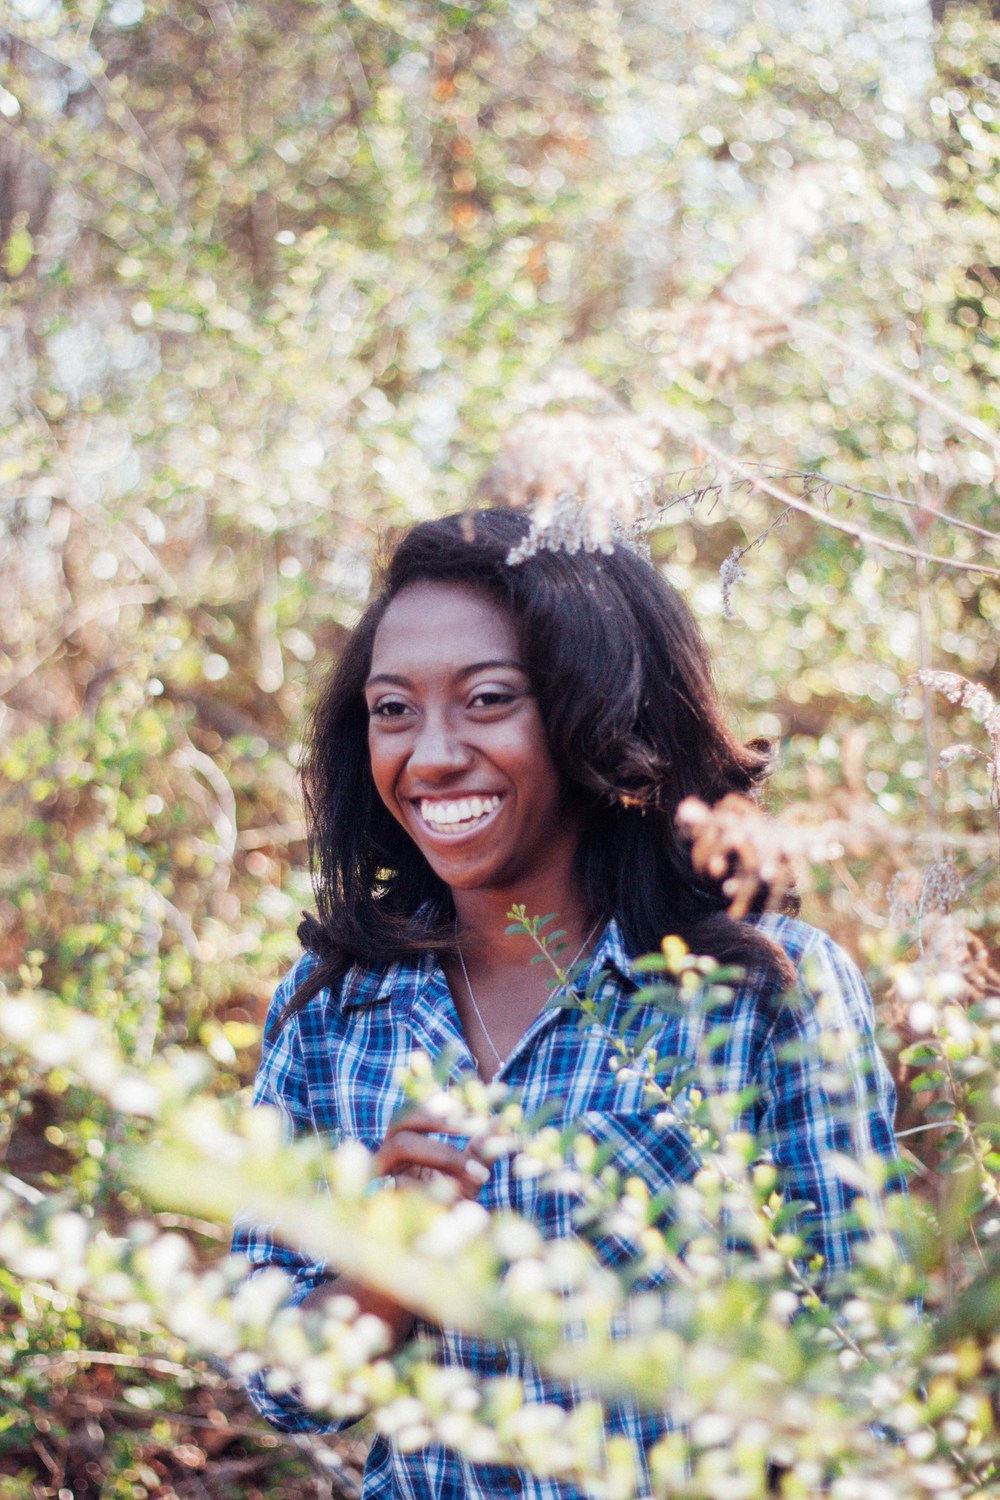
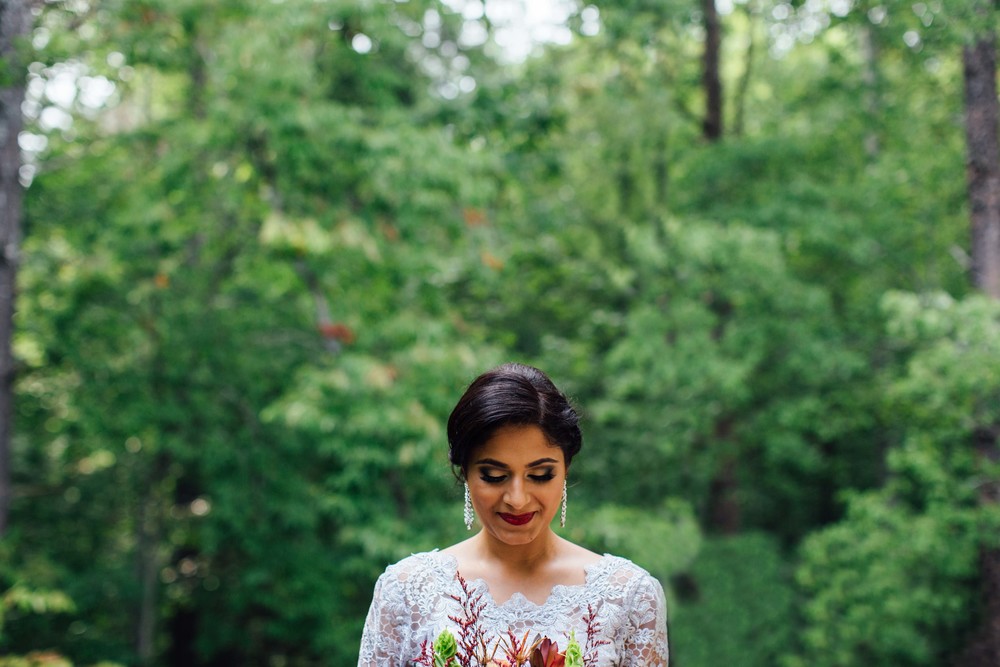
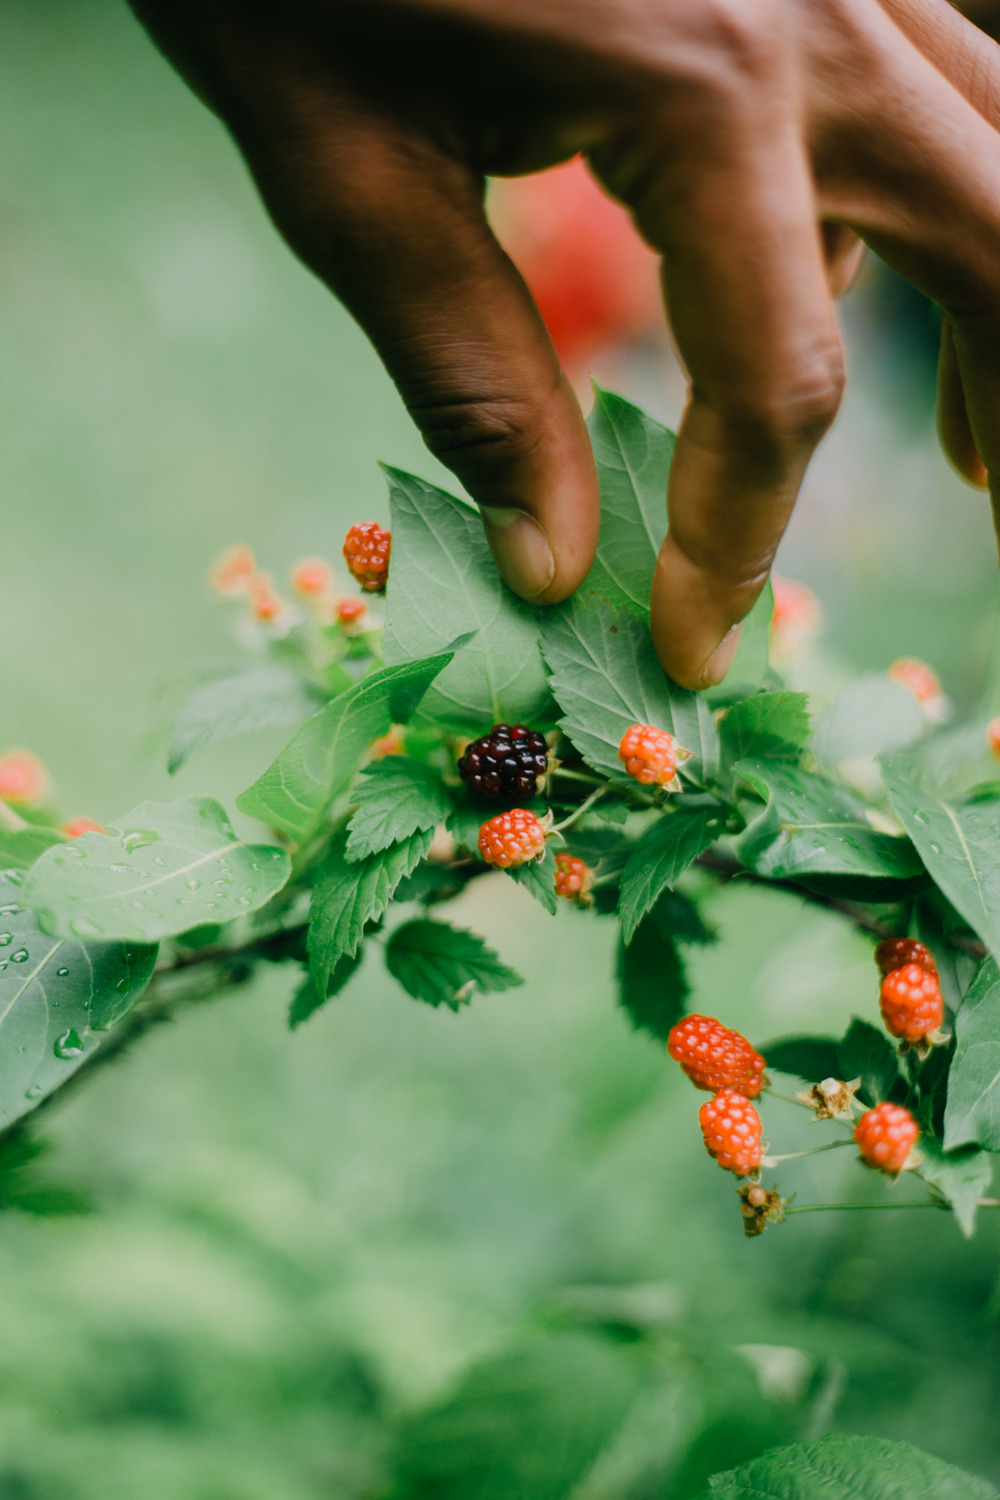
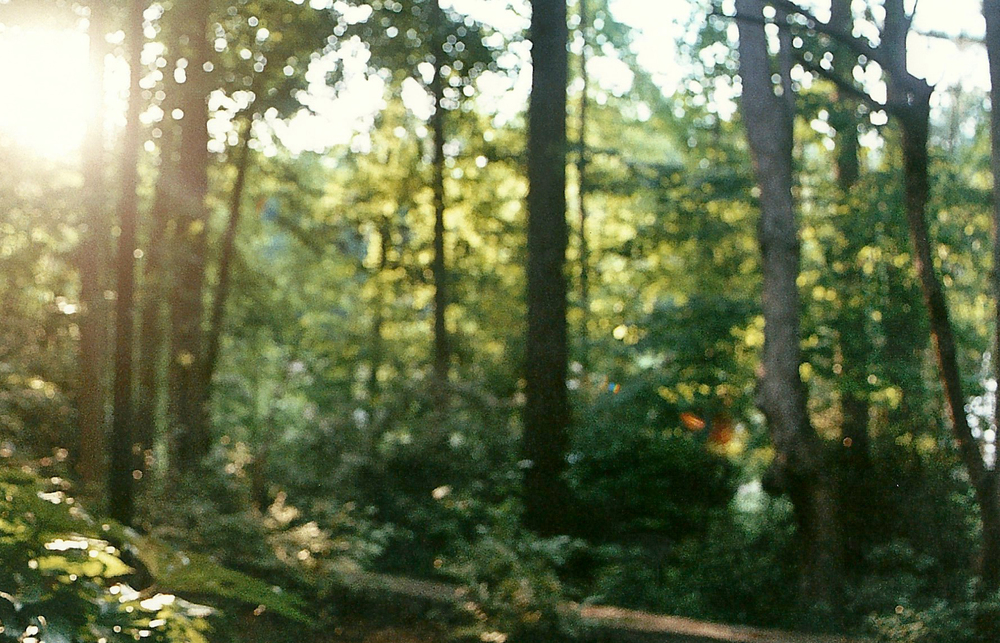
“Bokeh” is a photography term that refers to the out of focus parts of a photograph. Depending on the lens, the aperture, and the camera, you can achieve really dreamy, eye-catching, or story-telling bokeh. With a low aperture (around f/2.8 or less), your subject will be really in focus and your bokeh will be really out of focus. I love bokeh that comes from the sun shining through trees. Blurring out your background is a great way to draw the viewer’s eye directly to what you want to stand out. You can also blur the whole image! That’s something really cool I learned from a Cindy Loughridge and she calls it #bluronpurpose
I hope these few tips help someone out there! If anyone is interested, I’m offering free 30 minute mentoring sessions for all you budding photographers out there! Contact me for more info! 🙂





Where’s the link to sign up for the photography sesh?
Really informational post!!!! Love the etymology.! 😄
you should do online mentoring!!!